Kinect-enabled Gigapixel Viewer Part 2: Prepare a Gigapixel image
This is part two of a three part tutorial on how to set up the Kinect, create your own Gigapixel image, and use the Kinect with the Gigapixel viewer. Part 2 focuses on creating your own Gigapixel image; Part 1 focuses on setting up the Kinect, and Part 3 focuses on using the Kinect with a Gigapixel image.
The Gigapixel Viewer allows a user to pan, drag, and zoom on gigapixel images of any variety. The Kinect itself is this amazing space age gadget designed to use depth information from whatever’s standing in front of it to make user input available. Instead of touching your screen, touching your mouse, or touching anything, you stand approximately 6 feet away (though this may vary depending on your setup) and move your hands.
And most recently the Mars Curiosity Rover has started transmitting back images after this device of super-tech landed on the red planet in a combination of falling, parachutes, jet engines and a skycrane gently setting it down. It seems only appropriate that we take the images from this interplanetary device and set them up to view them on our natural user interface (NUI) device. This way, when people ask what you’re doing while waving your hands around at a big screen, you can say, “It’s all right, I’m just moving a camera around to look at Mars,” because, you know, we live in the future and that’s something we do now.
The first step is to get an image. There’s multiple ways to get gigapixel images, the easiest one is to just go to one of NASA’s many sites and just download one. They’re huge, and easy to find. You don’t go to Mars and act all shy about it.
What I’m going to do is take the panorama, which is fairly large to be viewed on its own. If it’s not big enough for you, don’t worry, the available pictures from NASA are only likely to get larger as currently the panoramas being sent back are made of thumbnails instead of the high-res images.
For those who are new to gigapixel images, a gigapixel image is usually either an extremely large image, or a series of many images that image processing software looks through, cuts up, and then branches out into different folders like a folder tree. As a viewer zooms in and out, it allows the computer to only need to load a small number of moderately sized images instead of working through one massive file of image data. We’re going to go with just one of the panoramas for now, but you may try downloading all of the Curiosity’s mast images to make a gigapixel image from full-res photos instead of one high-res photo. It sounds crazy, I know, but how much crazier is it than waving your hands around like a wizard to look at the surface of Mars?
To create the gigapixel image now that we’ve got a large image, I’m going to use a program that’s free for Windows called Deep Zoom Composer, developed by the lovely SeaDragon people at Microsoft, and free with Windows. Deep Zoom can output gigapixel images for various formats. What we want is an XML file and a series of branching folders.
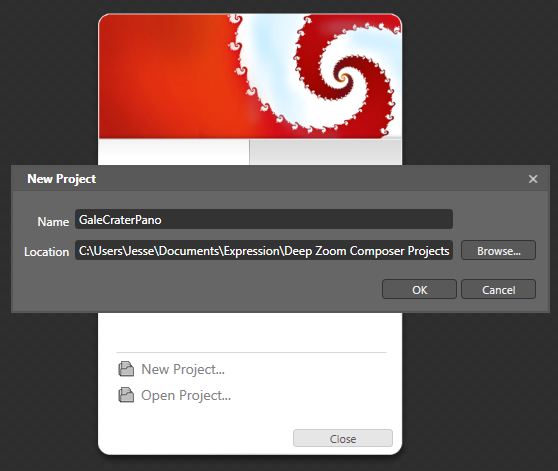
Once you have your photo (and this can work with any large photo, or massive series of photos), you can open up Deep Zoom Composer, and start a new project.
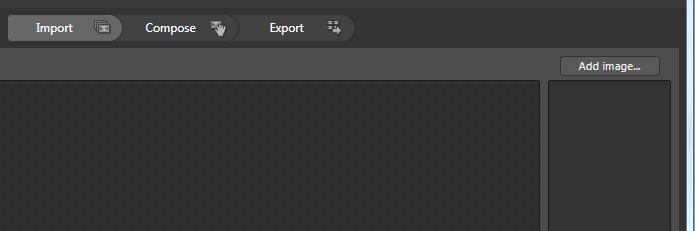
From here, it’s fairly easy. The first step is to import the photo by going to the button above the list box at the right and clicking “Add image…” Then you just navigate to where you saved your large panorama, or go about clicking on your whole folder of images. Just to note: Deep Zoom Composer can be finicky with different file types. Some extremely large files it can handle easily, and some other files it just won’t accepet. If you’re having trouble loading a chosen image or series of images, try saving them in a different file format and then try again.
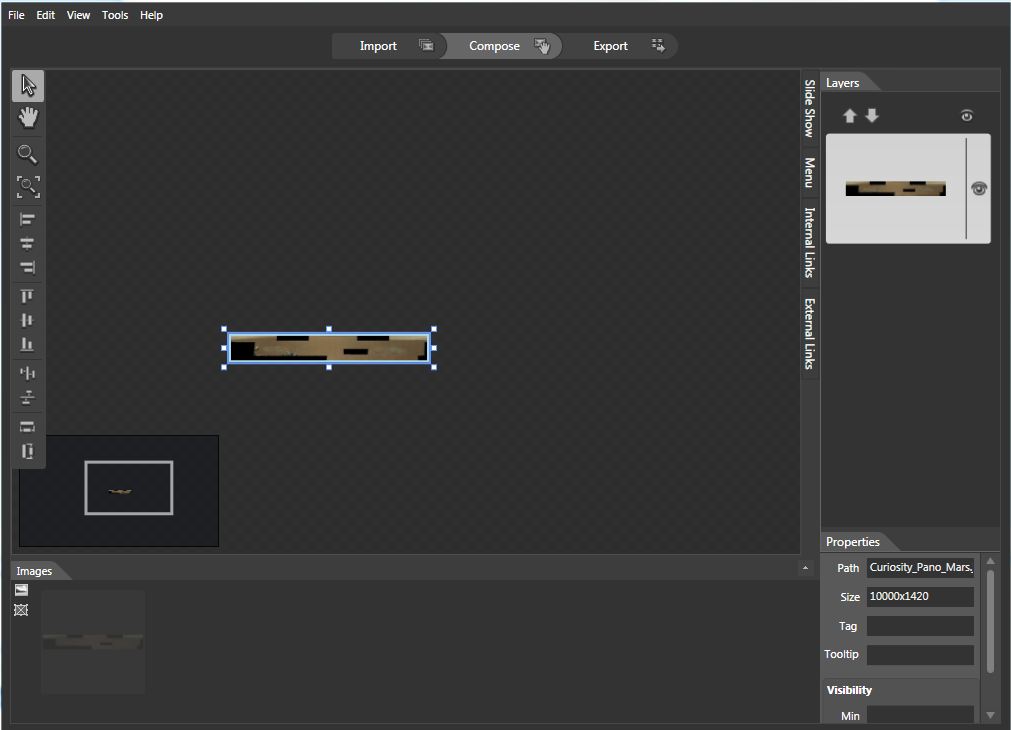
Now, the next step is either very short or very long. Since I only have one image right now, I’m going to go to “compose”, and drag it out onto the screen. A little window in the bottom left shows me where my image is relative to the rest of my composition. But I don’t care, because I only have one picture. As you can see though, I have a lot of room to expand if I ever decide to take on all of the Curiosity’s high-res images. Since I only have one picture, I’m going to go on to “Export”.
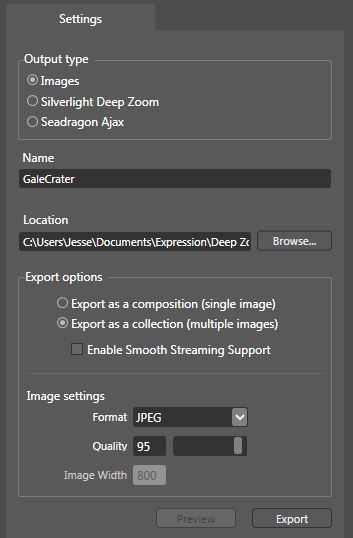
The Export page is fairly simple. Here’s the important thing you want to know for using the gigapixel viewer: you want “Images” selected, as this is what’s going to give you your XML and branching file structure that the gigapixel viewer likes to work with.
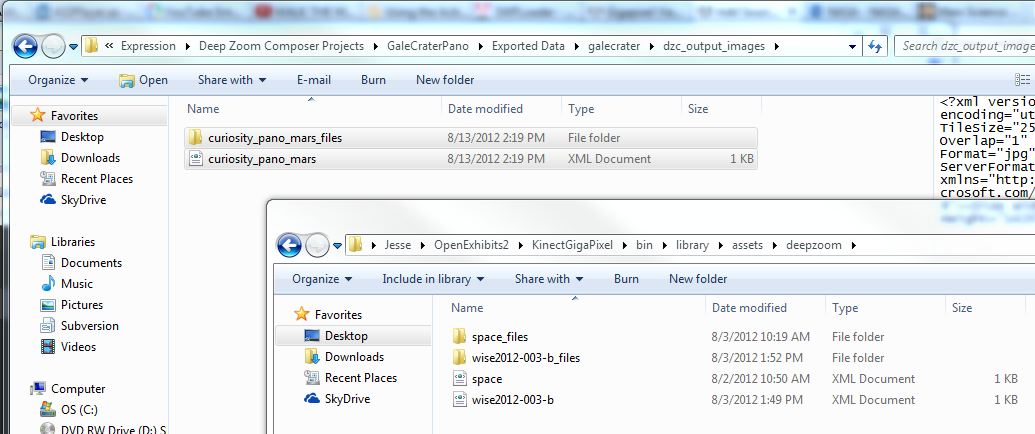
Once you click “Export”, you will be asked if you’d like to “Learn More” or view your images folder. Lets look at the images. The first thing you get is this weird folder tucked away on your hard drive with all these files which you may or may not know about. For the gigapixel viewer, we’re only concerned with the “dzc_output_images” folder that’s highlighted in this picture. Doubleclick on that.
You should now be in a folder with a file, and another folder. The file should be an XML Document, and the folder should have a matching name to it with all your image files. If you bother looking in, you’ll just see a bunch of folders labeled with numbers, those are the “levels” of your gigapixel image. You don’t need to mess with those.
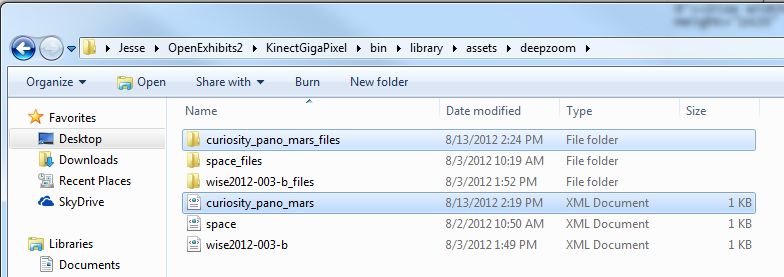
Instead, what you want to do is take your XML file, and its matching folder full of image folders, and paste them into the “bin/library/assets/deepzoom” folder of your KinectGigaPixel folder, wherever you saved that. As you’ll notice, there are two already present with your download. Once you paste the XML and the folder in, you’ll have a third. The XML file’s name is all you need to reference in your CML now to load your new gigapixel image.
by Joshua Hicks ![]() on September 18, 2012
on September 18, 2012